Quick start
V5 Version
Function optimization for versions above V5.0:
- Optimized the interface
- Provides task management functionality
- Support customization of 'user agent'
- Support custom transcoding formats and transcoding presets
- Refactored the overall code logic and split the project.
At present, it is in the testing version and can be installed to experience the new features.
Due to the built-in 'sqlite3' in the project, pkg packaging cannot automatically bring in the. node native dependencies, resulting in a missing '. node' file in the release of GitHub Actions packaging. We are currently working on finding a solution
Must see
It is recommended to use releases version v4.2.1 or above. For lower versions, the config.yml configuration may not be compatible
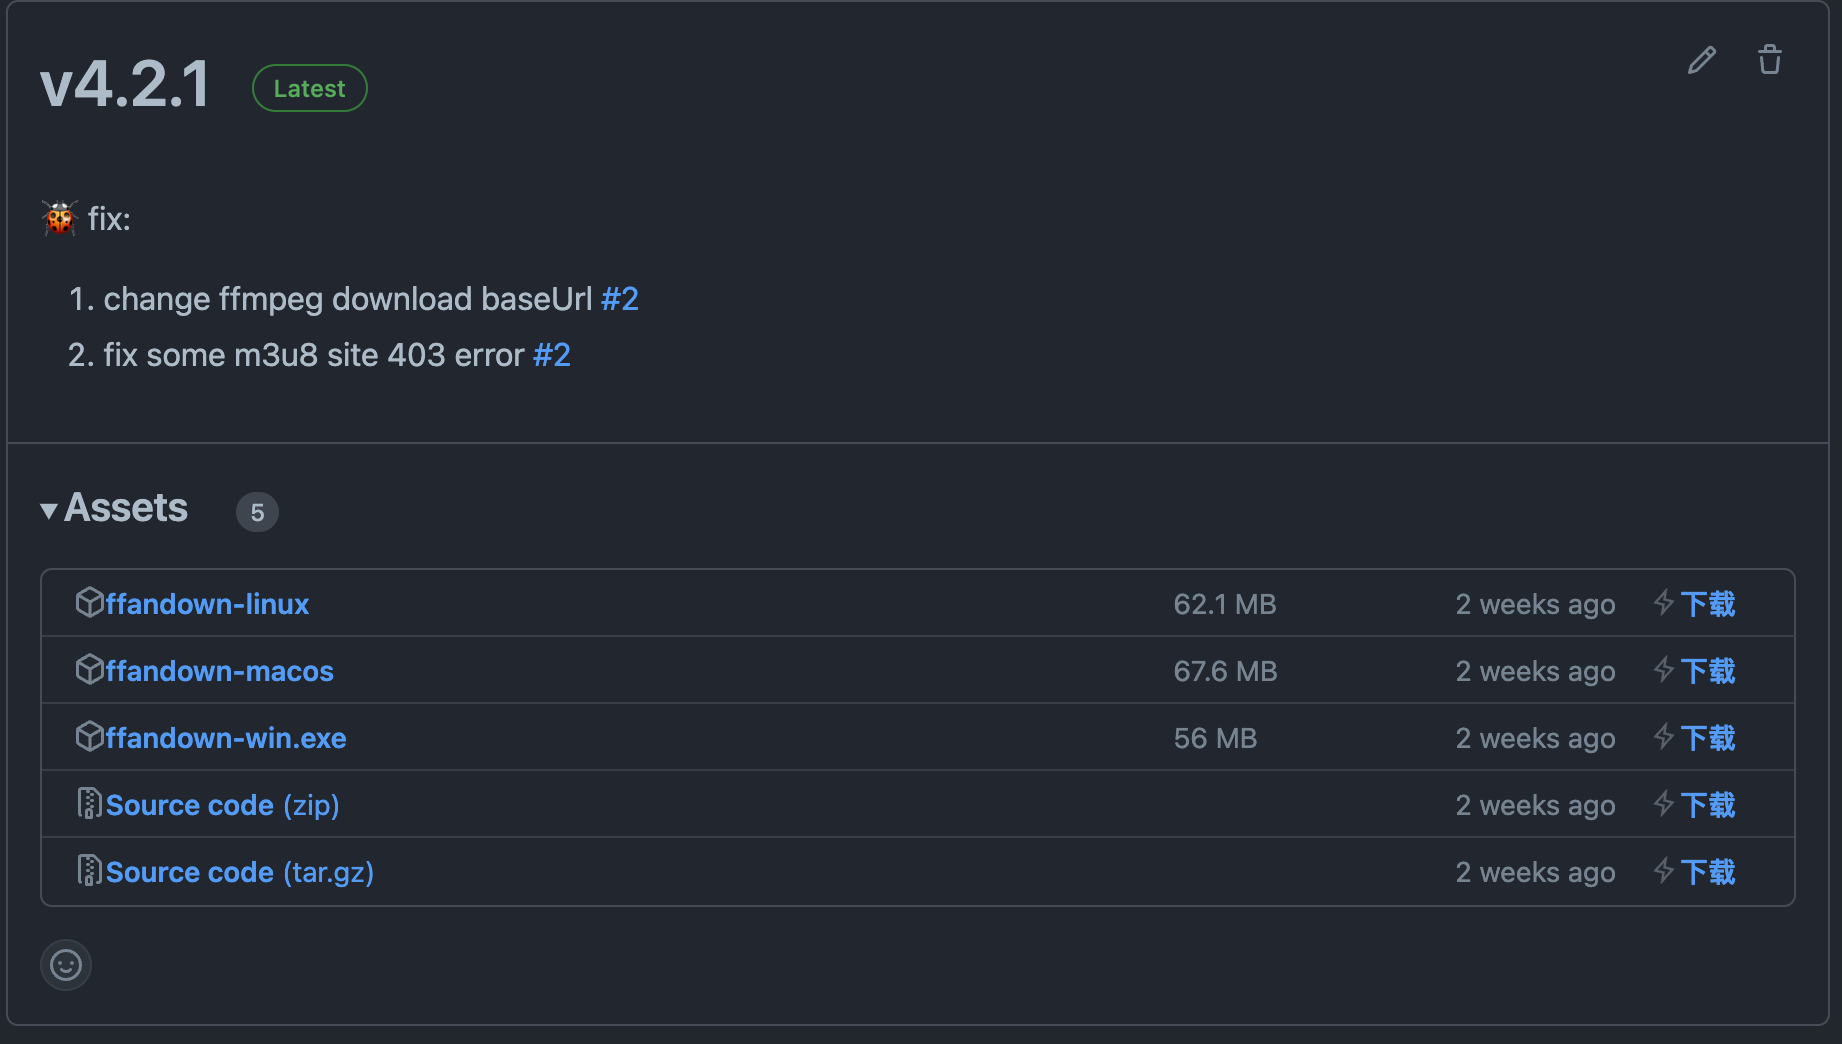
releases installation
To install releases, you only need to download the executable file of the corresponding platform: Click here to download ⬇️
Precautions
Windows platform does not require too much explanation, just double-click to run it
After Linux platform users have downloaded, they must first authorize the file: chmod +x fffandown-linux, and then execute ./ffandown-linux
Users of the macos platform need to be authorized before executing the file just like Linux, so I won’t go into details.
docker installation
Execute the following commands in the terminal:
docker run -d -p 8081:8081 -v /home/media:/app/media -v /Uses/helson/config:/app/config -v /Uses/helson/logs:/app/logs h55205l/ffandown: latestCommand description
The default startup port is 8081, corresponding to the port field in the configuration
/app/media is the directory for downloading media in the container
/app/config is the configuration file directory within the container
/app/logs is the log file directory in the container, which can be mapped according to actual needs.
/app/public is the front end static file directory
TIP
Arm users please use the arm64 version: h55205l/ffandown:arm64
Synology installation
Pull the image: h55205l/ffandown
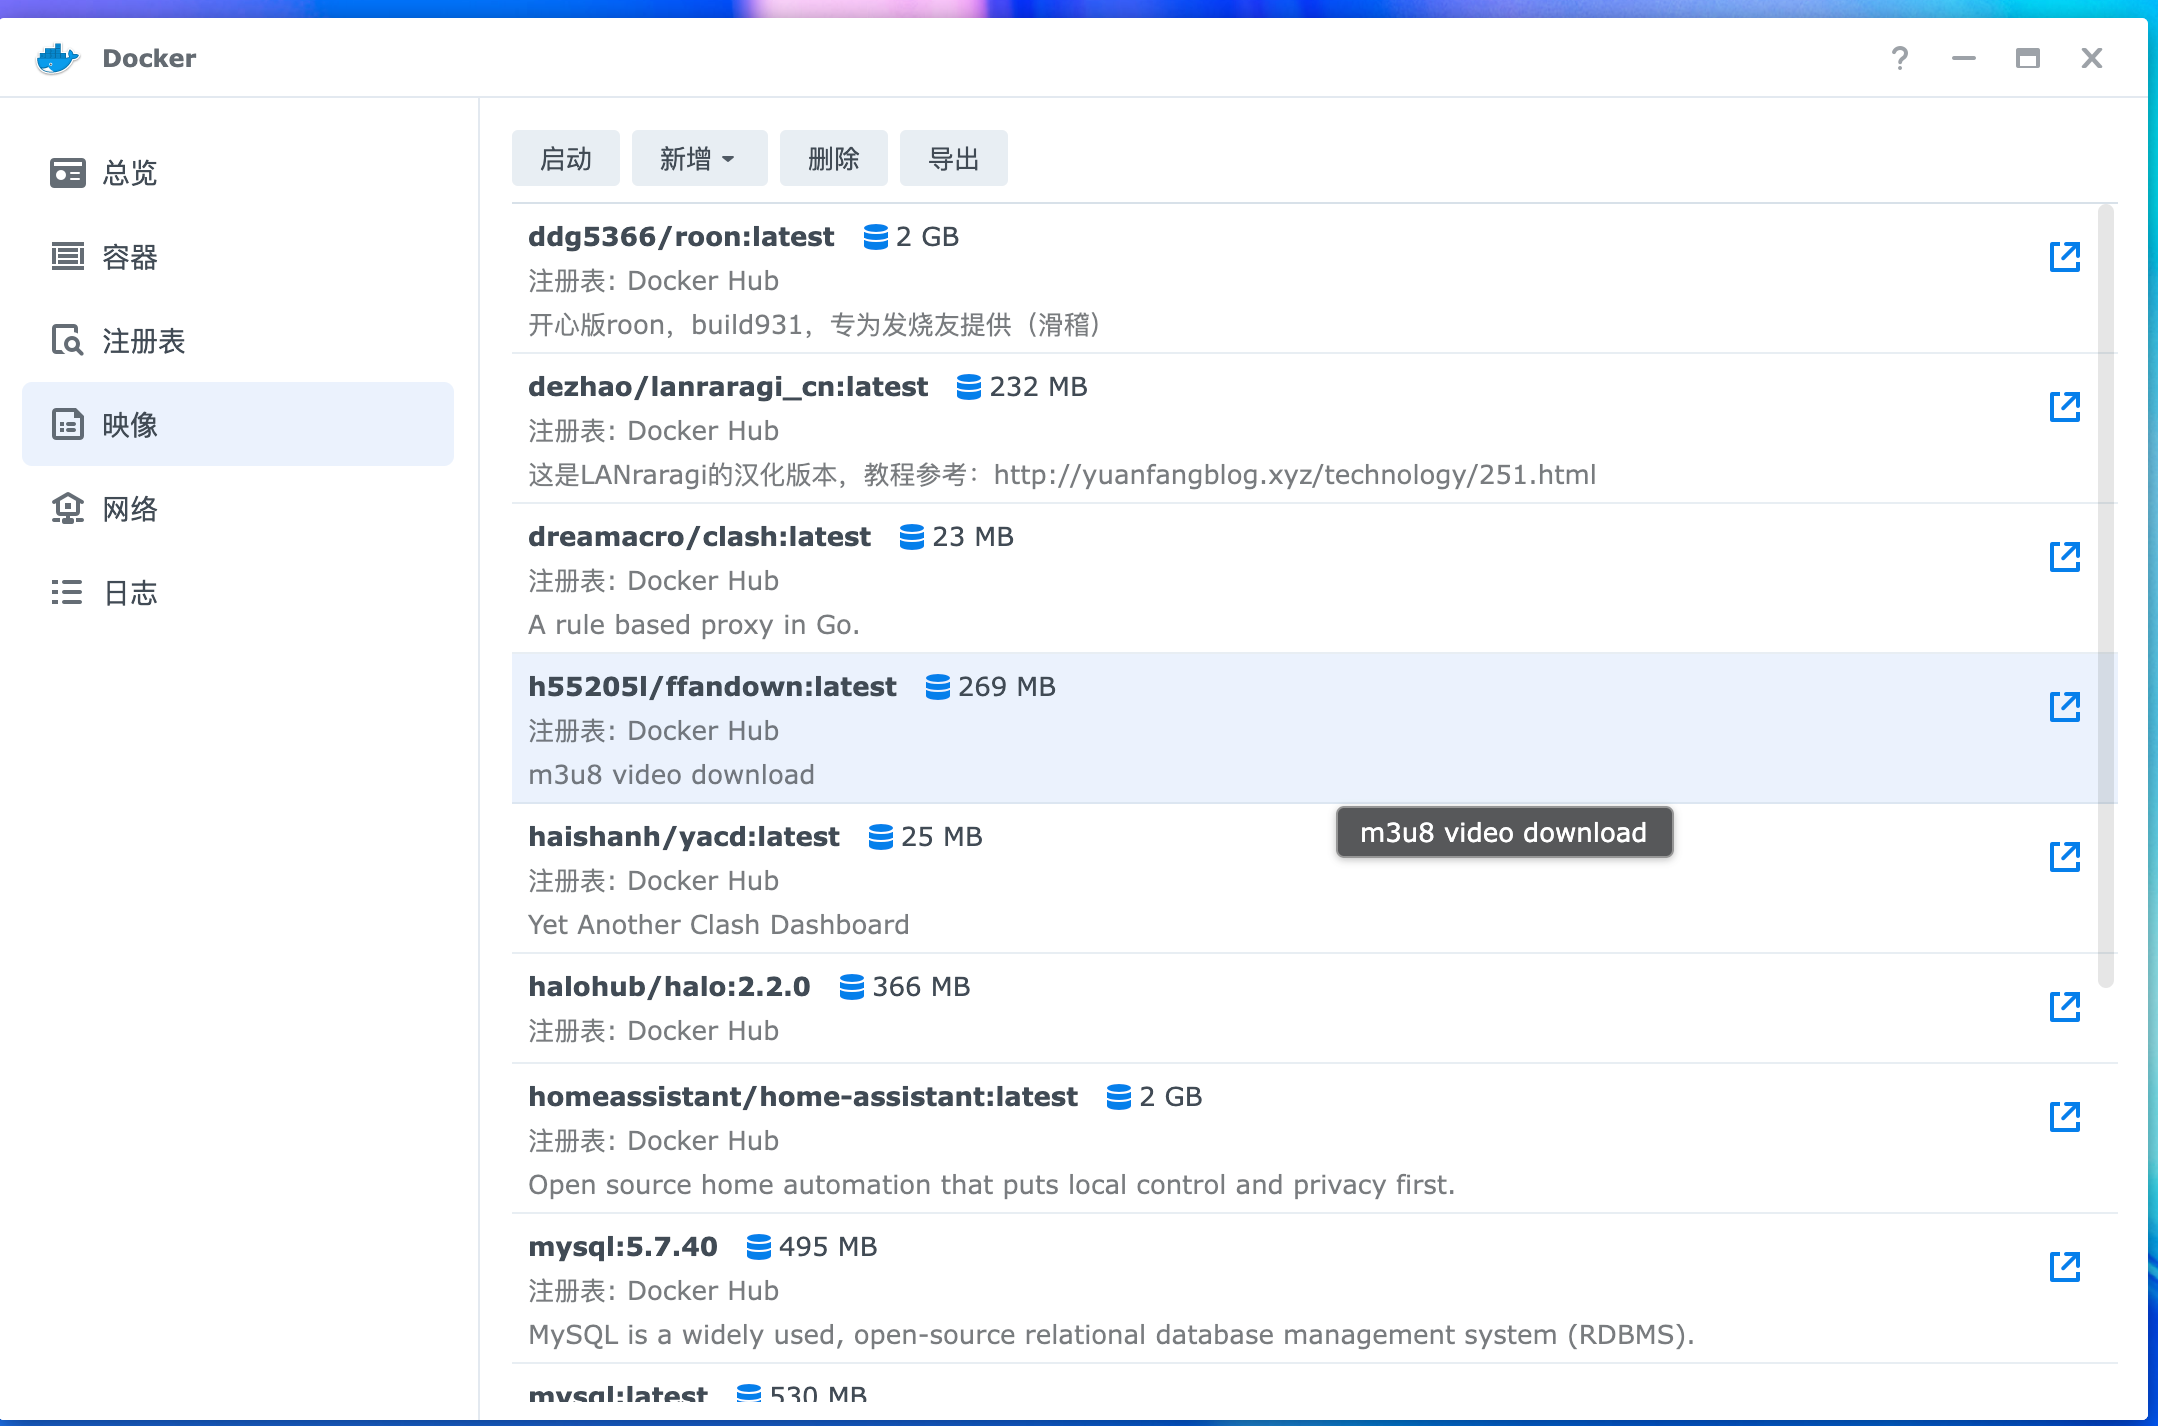
Add new container
Network: You can use bridged or pass-through networks
Port: The local port depends on your own needs. The internal default is 8081.

Folder mapping: media folder internal
/app/media, internal log folder:/app/logs, configuration folder:/app/logs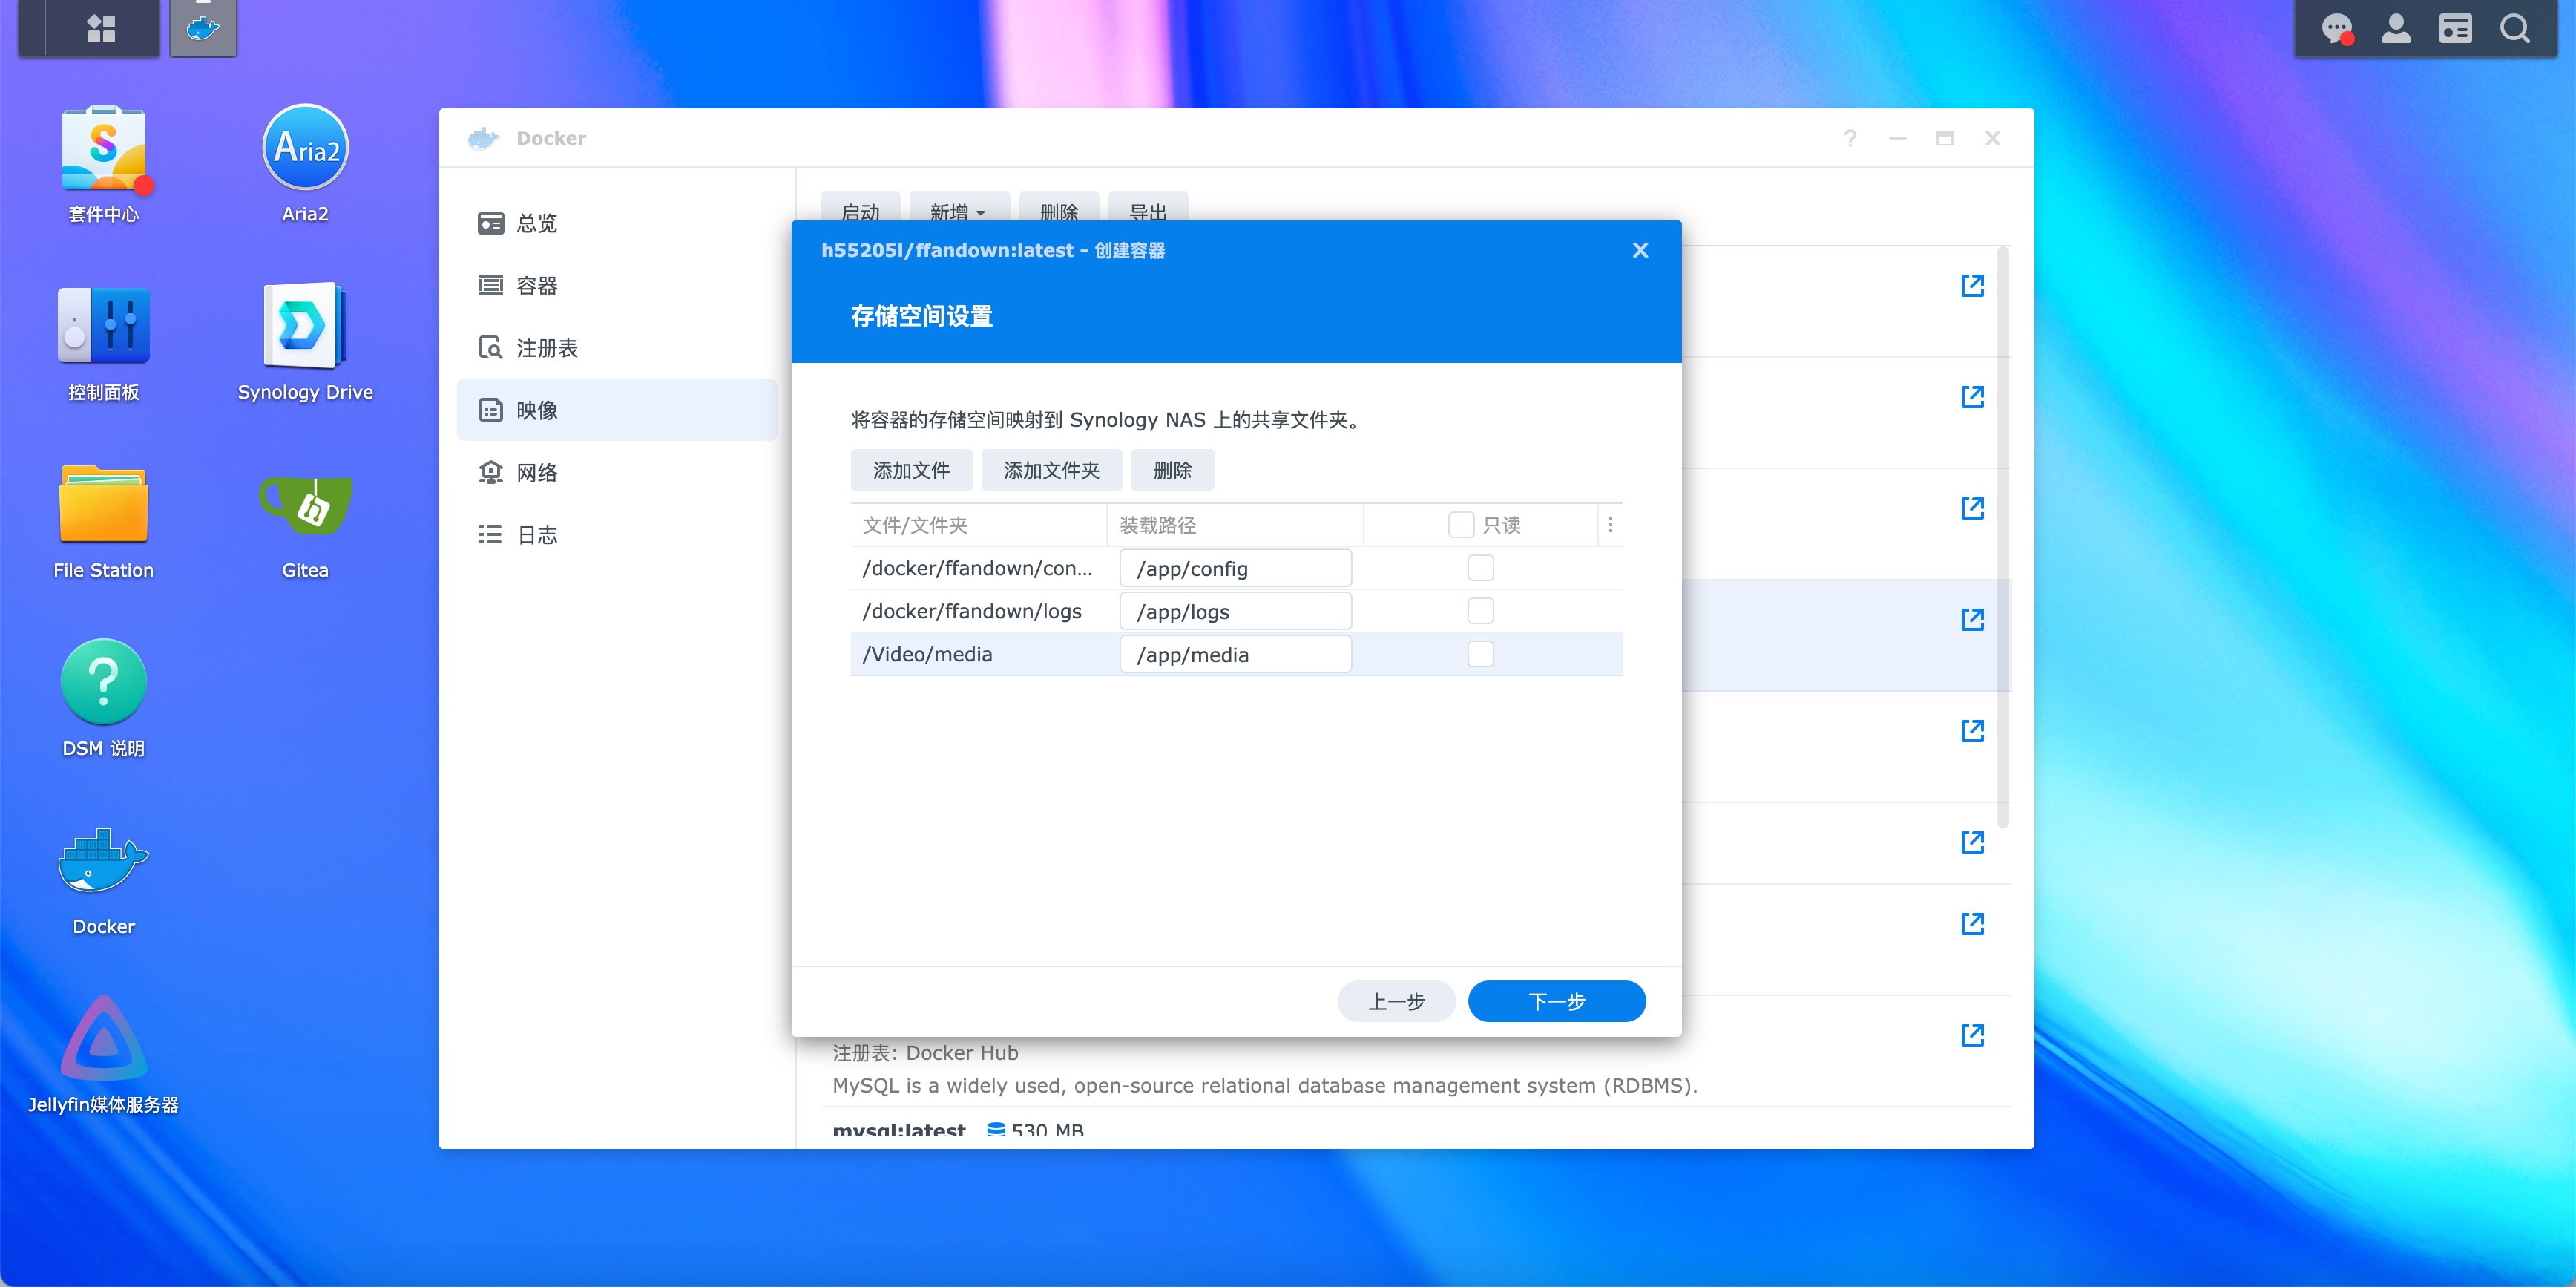
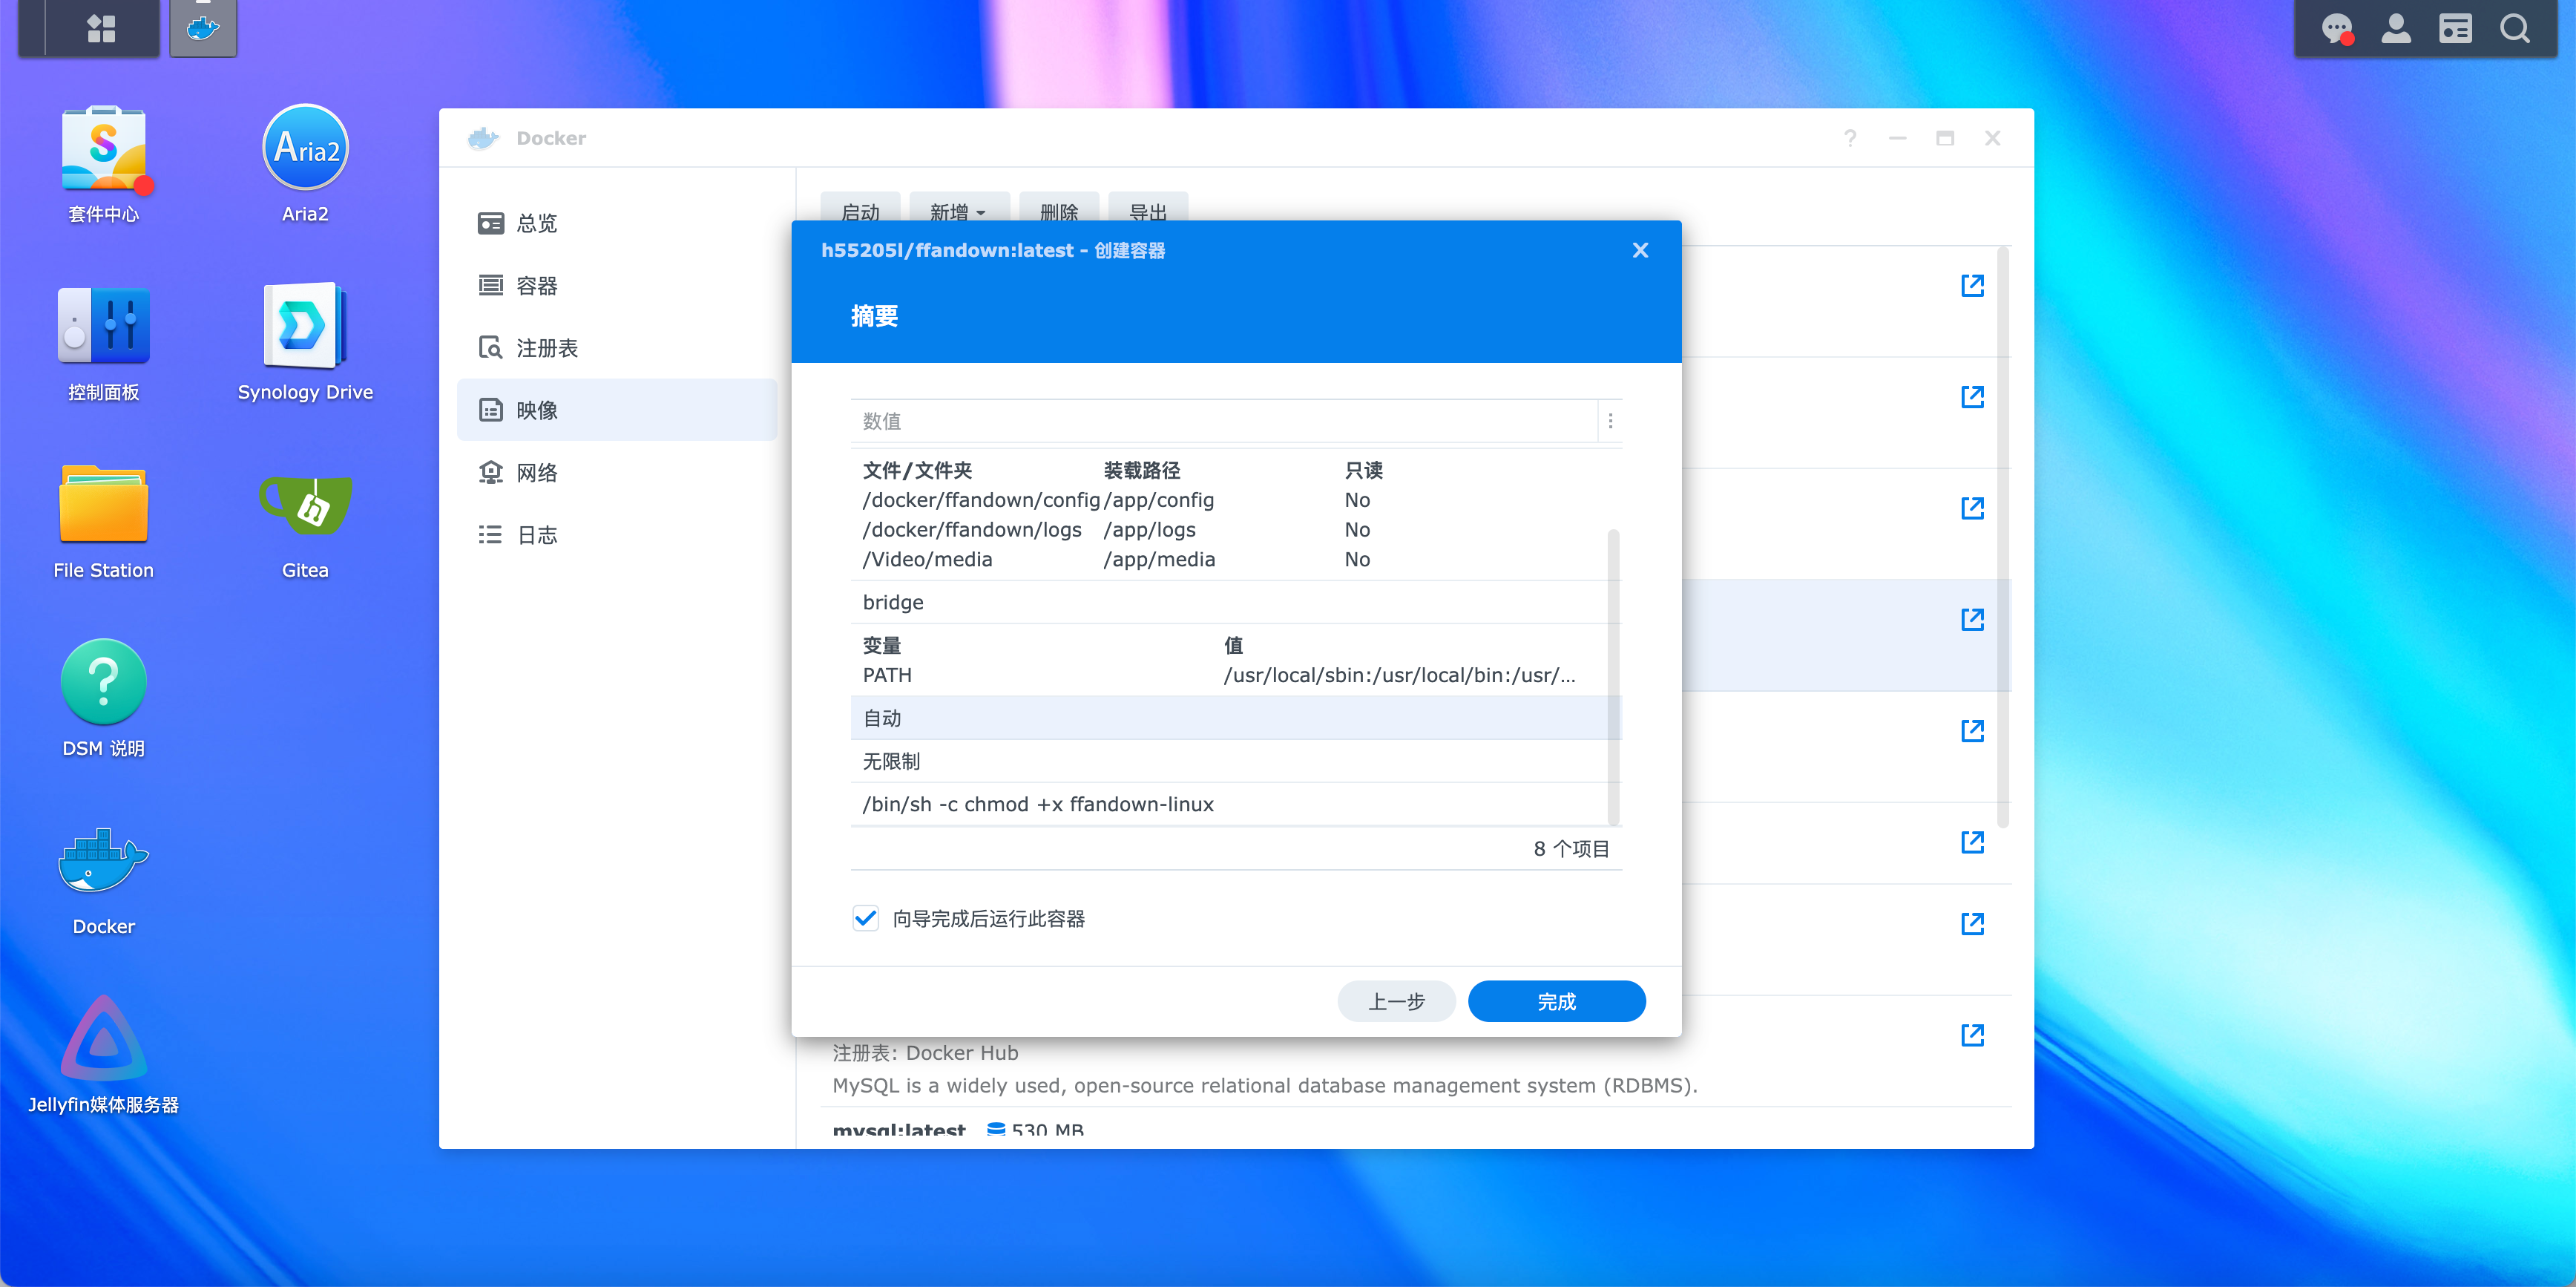
WARNING
Note that you need to authorize the mapped folder and configure it in Synology.
Configuration file description
If there is no config.yml configuration file, the default configuration will be used and the configuration file will be automatically created (under the config folder in the running directory).
port: The port the service listens ondownloadDir: download directory, relative to the location of the executable file, or use an absolute path (load @ in front of the address)webhooks: webhook notification address, you can use software such as DingTalk or bark.$TEXTis a variable: the name of the downloaded file (note that the variable is in uppercase only and only supports bark)! ! ! Please modify the address manuallywebhookType: bark | 'feishu' | 'dingding' | 'gotify'thread: whether to enable express multi-thread service (not enabled by default)downloadThread: Whether to enableffmpegmulti-thread transcodinguseFFmpegLib: Whether to automatically build in ffmpeg. When the service is started, it will automatically download ffmpeg for the corresponding platform. If it is not started, the local environment will be used by default.maxDownloadNum: Maximum number of simultaneous download tasks (the larger the number, the more memory it occupies)enableTimeSuffix: Enable global task timestamp suffixdebug: Enable debug mode to increase log output
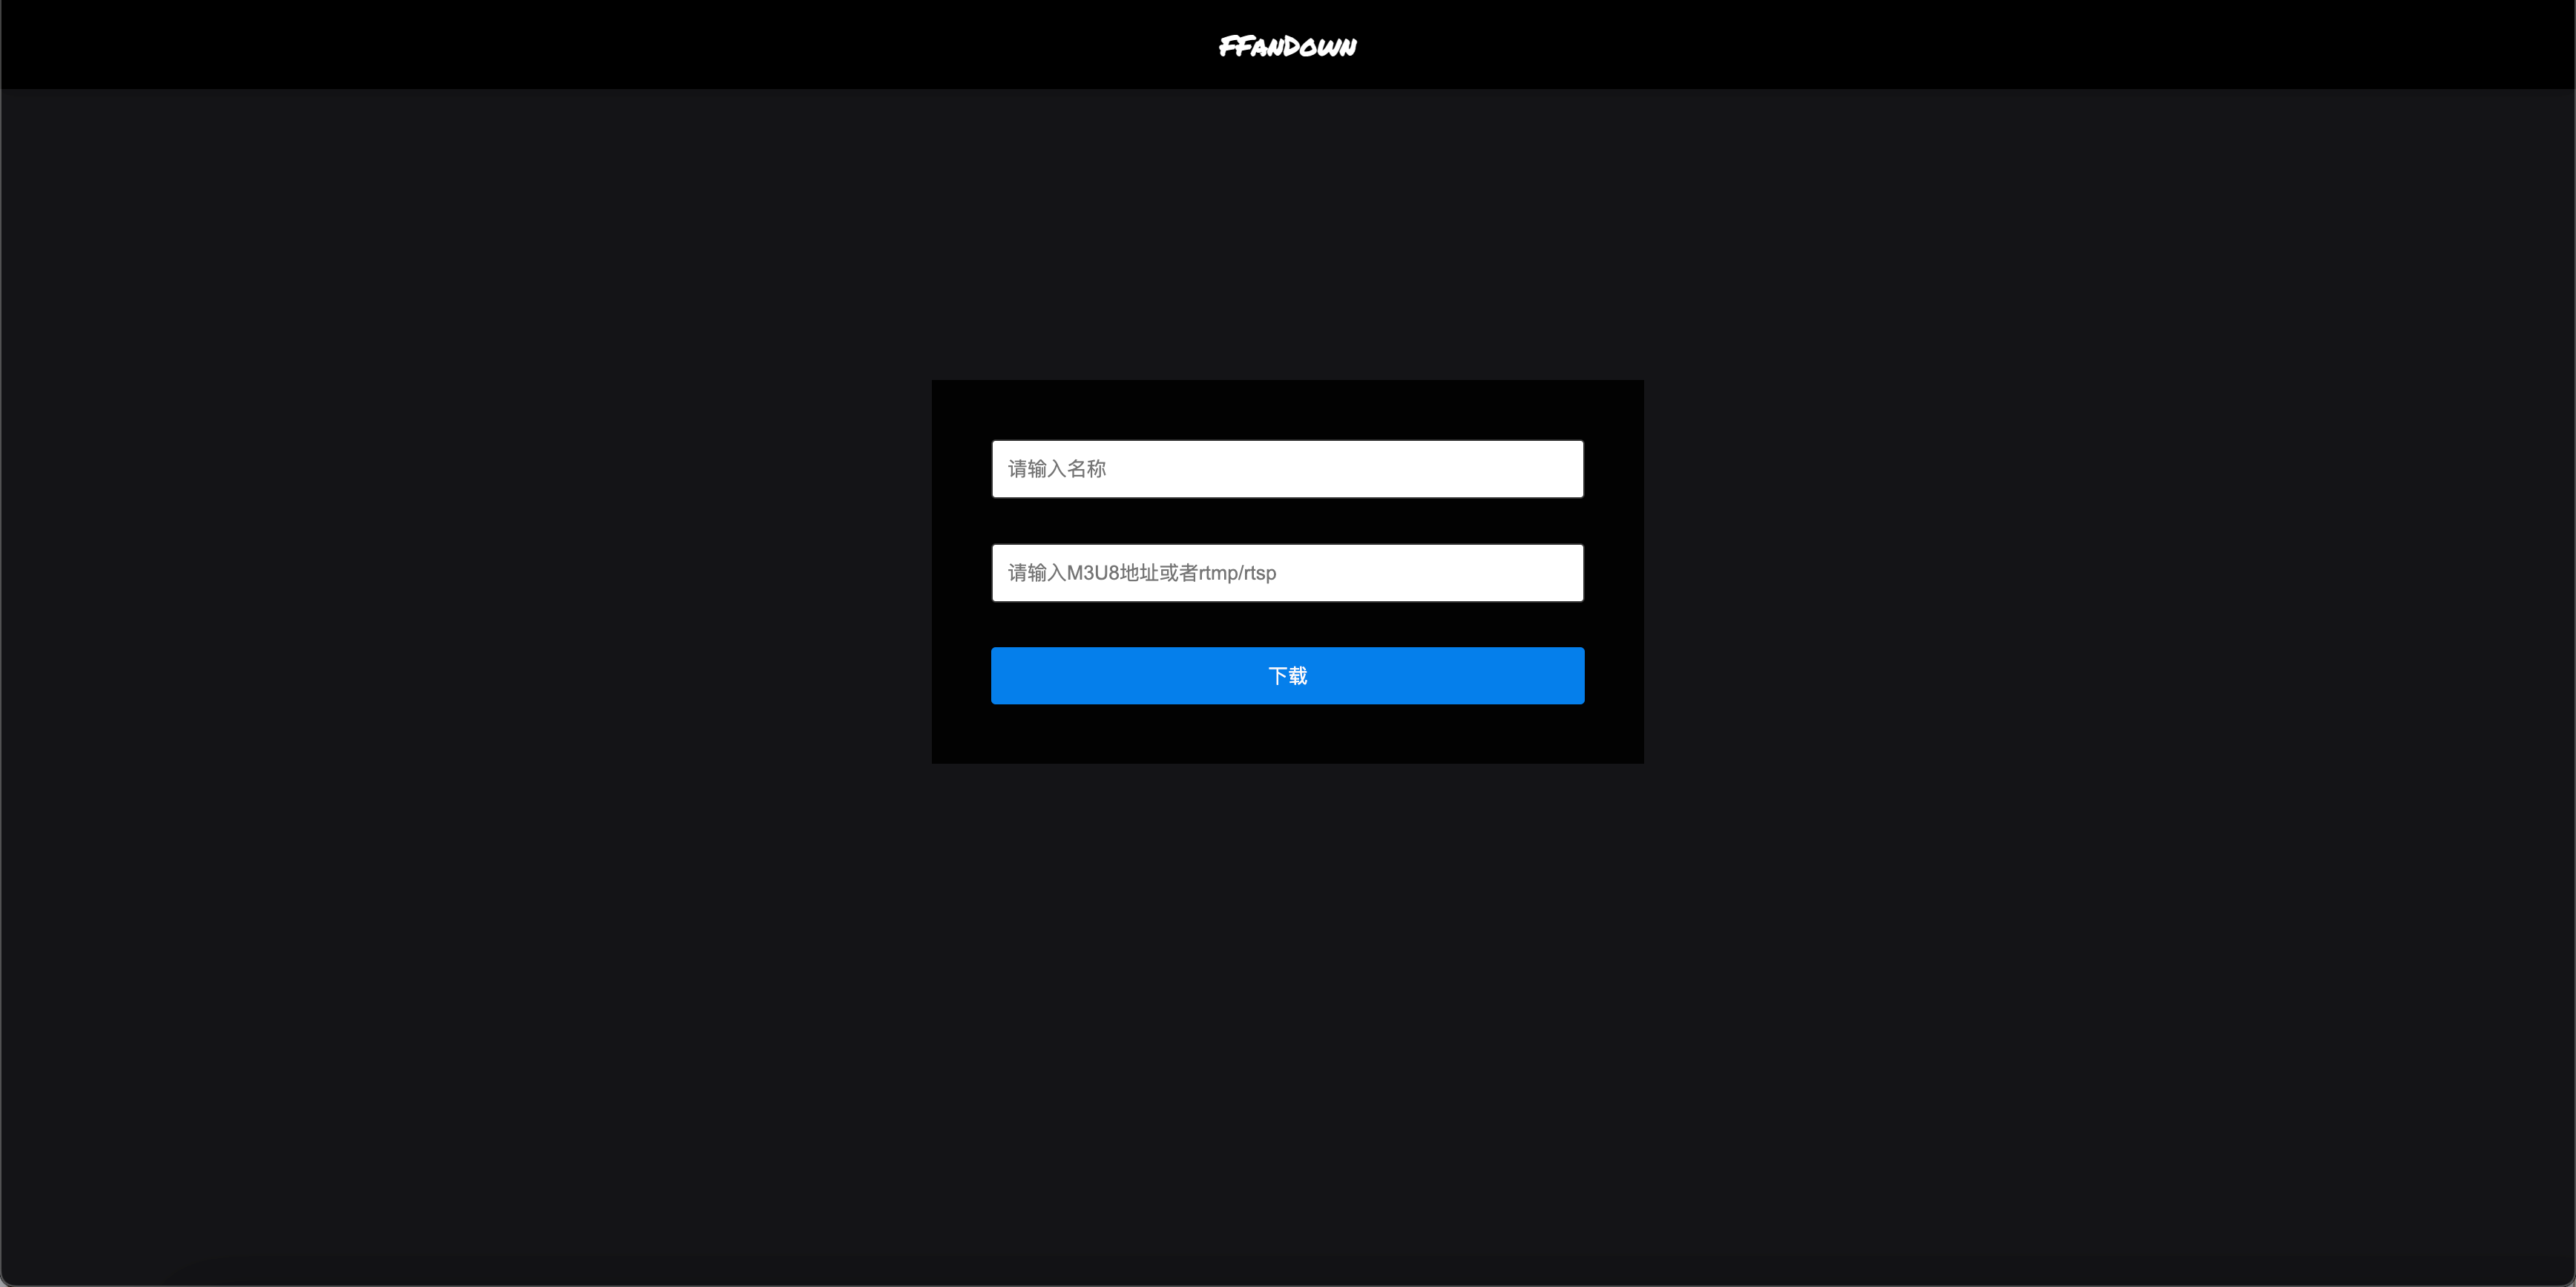
General use
After the service is started successfully, you can see the download page by opening localhost:8081 directly in the browser.
INFO
If you use v5.1 Above Version
No registration is required for the first login. By default, the first account you log in with will be automatically registered. Please remember your username and password.
API usage
Create download task
Interface address: http://localhost:8081/down
Request method: post
Request header: Content-Type: application/json
Request parameters:
| Parameter Name | Description | Required | Version Requirement |
|---|---|---|---|
| name | Download task name | ❎ | all |
| url | Video URL(s). Separate multiple URLs with commas (English format). | ✅ | all |
| useragent | User agent | ❎ | v5.0^ |
| preset | Preset: 'ultrafast', 'superfast', 'veryfast', 'faster', 'fast', 'medium', 'slow', 'slower', 'veryslow' | ❎ | v5.0^ |
| outputformat | File format: 'mp4','mov', 'flv', 'avi' | ❎ | v5.0^ |
| dir | Download directory (relative to the configured folder path) | ❎ | v5.0^ |
| enableTimeSuffix | Whether to enable timestamp suffix (boolean type) | ❎ | v5.0^ |
| headers | Request headers [{key: '', value: ''}] | ❎ | v5.1^ (Official release) |
| username | Username (for standalone API authentication) | ❎ | v5.0^ |
| password | Password (for standalone API authentication) | ❎ | v5.0^ |
{
  name: "videoname",
  url: "http://playertest.longtailvideo.com/adaptive/bipbop/gear4/prog_index.m3u8",
  useragent: "",  // not support
  preset: "", // not support
  outputformat: "", // not support
  dir: "", // not support
  enableTimeSuffix: false, // not support
  username: "admin",  // not support
  password: "admin123", // not support
}{
name: "videoname",
url: "http://playertest.longtailvideo.com/adaptive/bipbop/gear4/prog_index.m3u8",
useragent: "",
preset: "",
outputformat: "", // :'mp4', 'mov', 'flv', 'avi'
dir: "", //
enableTimeSuffix: false, //
username: "admin",
password: "admin123",
}Configure the violent monkey plug-in to use
Violent Monkey Installation
First, make sure you have installed the Violent Monkey plug-in. I won’t go into details here on how to install it. You can get it at:
Violent Monkey plug-in installation [⚠️ Not recommended]
WARNING
Tampermonkey has limitations and cannot parse all scenarios.
It is recommended to use Cat Catch
or use my modified version that supports sending tasks to ffandown: GitHub🤖
Currently, greasyfork cannot upload plug-ins for sharing, so you need to obtain the script and install it manually.
Copy script content
Click this address ffandown-violentmonkey-script, and then copy the content
Create script
Click on the plugin’s icon and add the + button
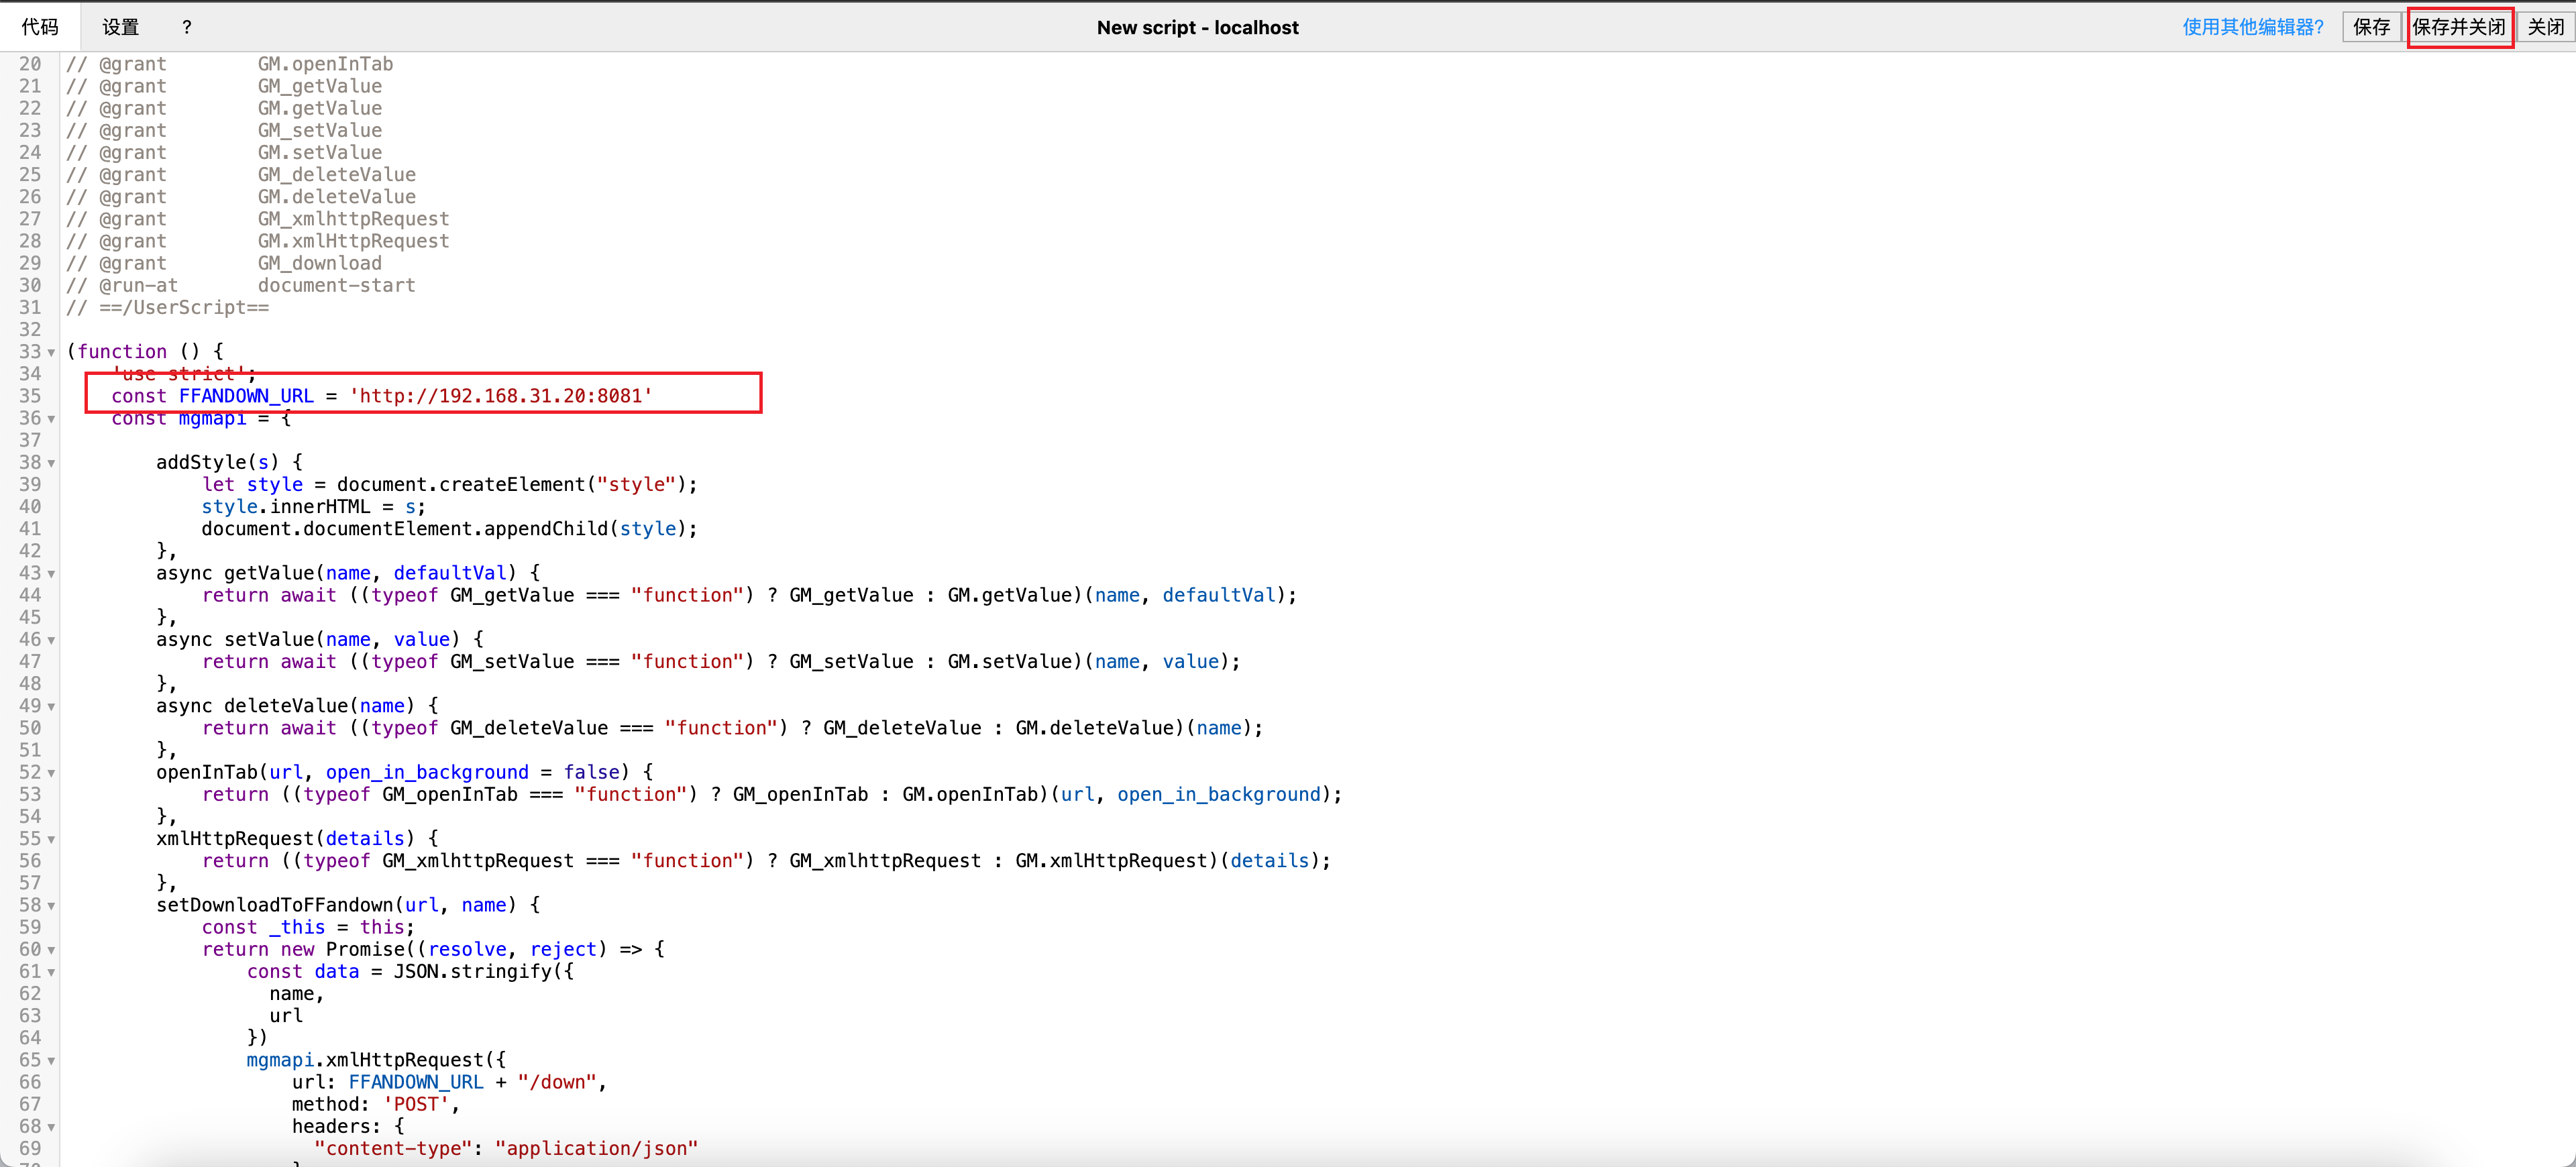
Paste and save
Paste the copied content, and then modify the FFANDOWN_URL parameter to your service deployment address: http://192.168.31.20:8081